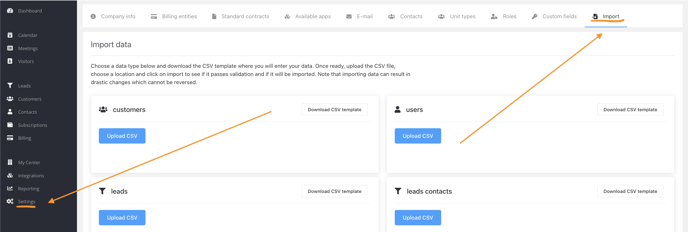
Step 1: Go to the Import page
Go to Settings > Import
This import function requires certain permissions, if you do not have them you'll see a message informing you:

This can be edited in your roles: Read more about updating permissions and roles.
Step 2: Prepare your CSV
Start by choosing a data type you want to import; e.g. users, customers, units, etc. Download the CSV template that you'll use to put your data in with the "Download CSV template" button. You can use the CSV template to fill in all the data you'd like to upload.
Note: If you import users, you need to make sure that their related customers are already in the database. You can refer to customers they need to go into using the customer number field.
Note: If you edit the file in Excel or Numbers, make sure to export it as CSV to upload it.
Guidelines for specific CSVs can be found here
Step 3: Upload your CSV
Once you've filled in all the data in the columns of the CSV, upload it with the "Upload CSV" button. Select the file from your computer.
Step 4: Data verification
Once you've submitted the CSV, you'll see a pop-up that verifies the data. If everything seems okay, you may continue and import the data to the actual server/database by clicking the "Import" button.
Step 5: Data Implementation
Whilst the data is imported the server will verify every row of your CSV. If there are rows that fail to import, it will be mentioned in the pop-up with an error. Depending on what the error is, try to resolve the issue yourself and if you cannot; get in touch with our support team, via support@zapfloor.com. If you can resolve the issue yourself, make sure to import them again (go back to step 3)