In the Marketplace module, you can set up different in house or third party products to boost your revenue separate from the meeting room/desk bookings whilst providing a seamless customer experience.
The products available in the marketplace are distinct from those in My Center. Marketplace products are created separately following the steps outlined below.
Structure of the marketplace:
- Stores (so you can define which products are offered)
- Marketplace Products: Each Marketplace product has a Category (so you can split different groups of products in the end user client and the reporting)
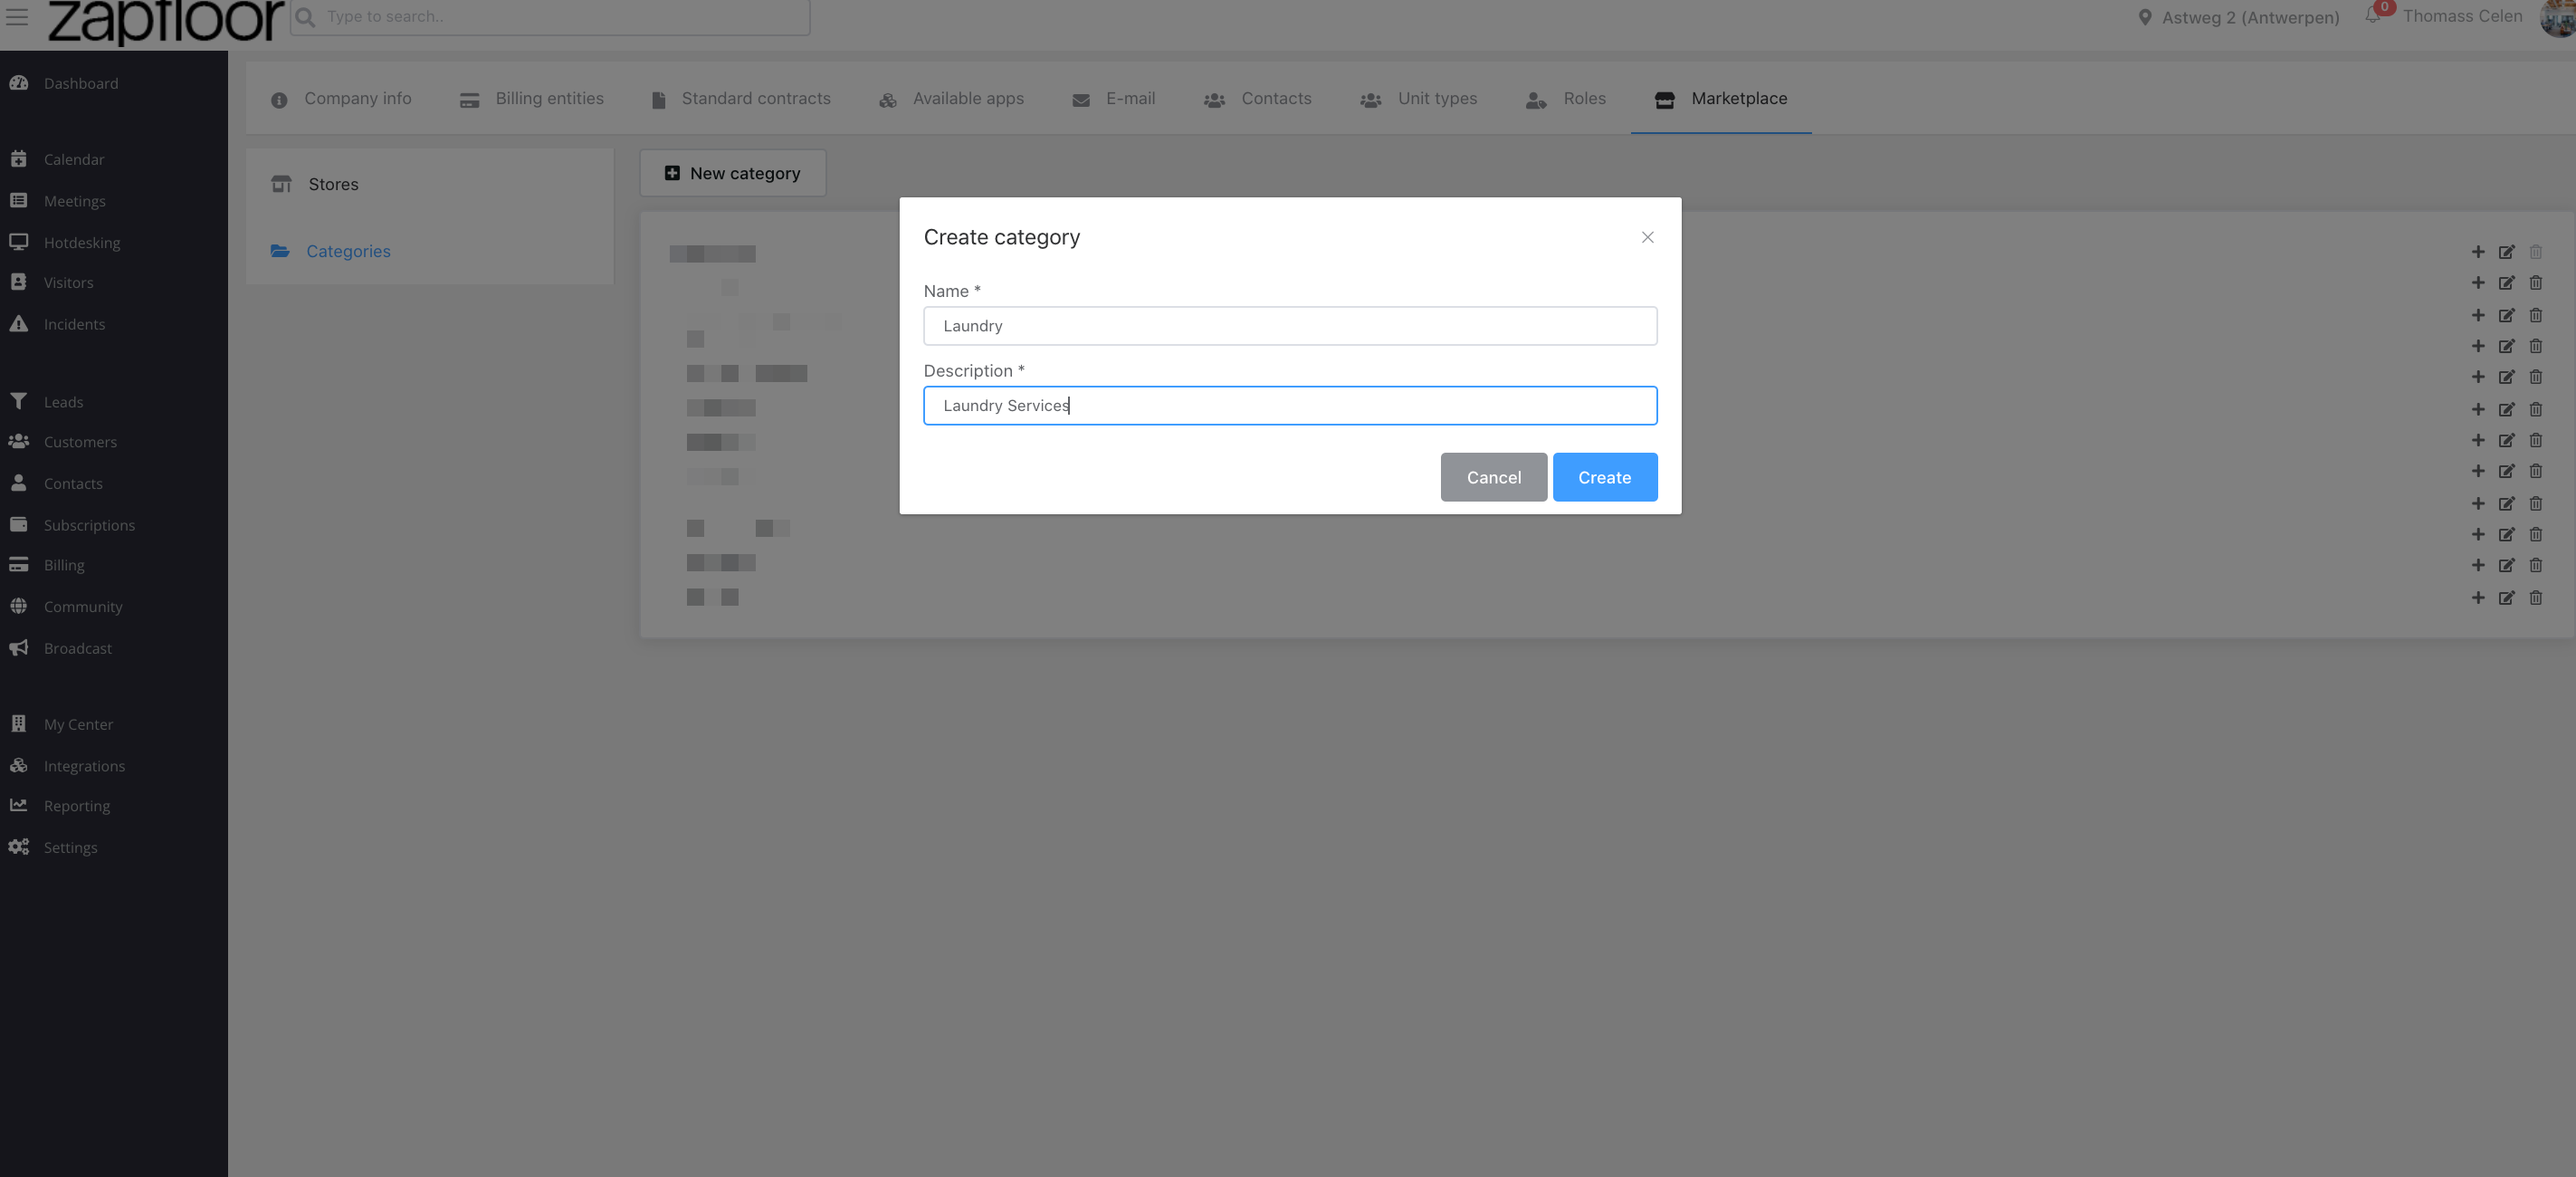
Next, navigate to the Categories section to begin adding the types of products you plan to offer in the Marketplace. It's recommended to keep the categories broad, such as laundry, Thai Restaurant, Brewery, etc.
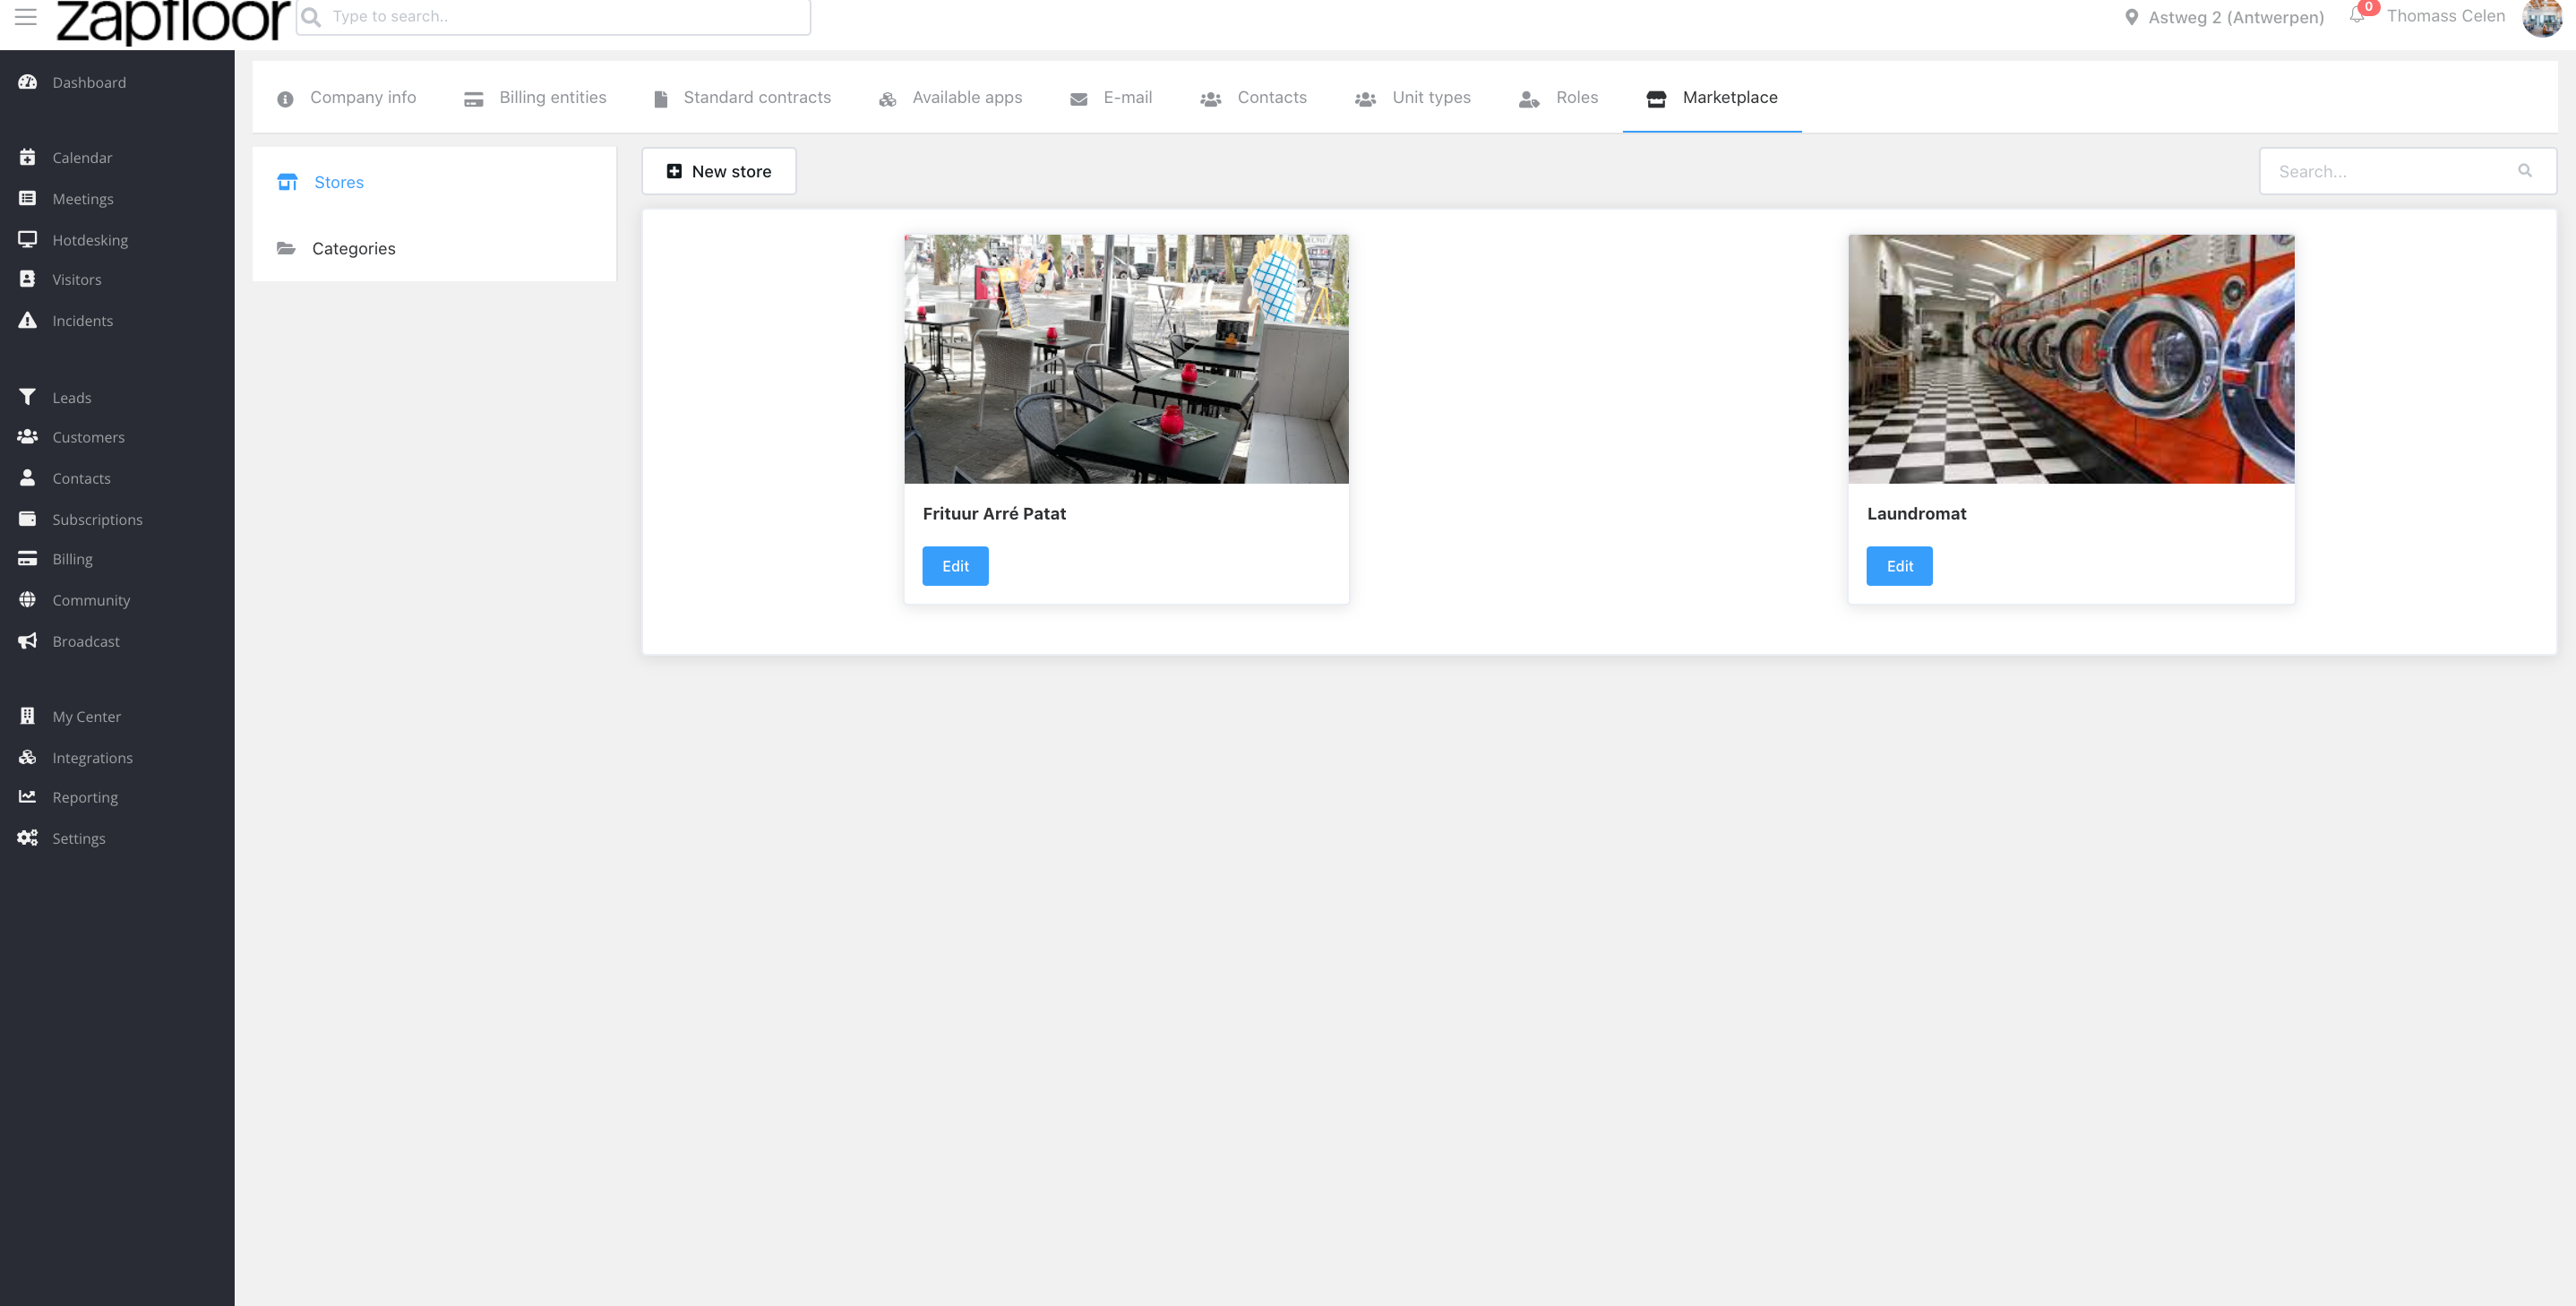
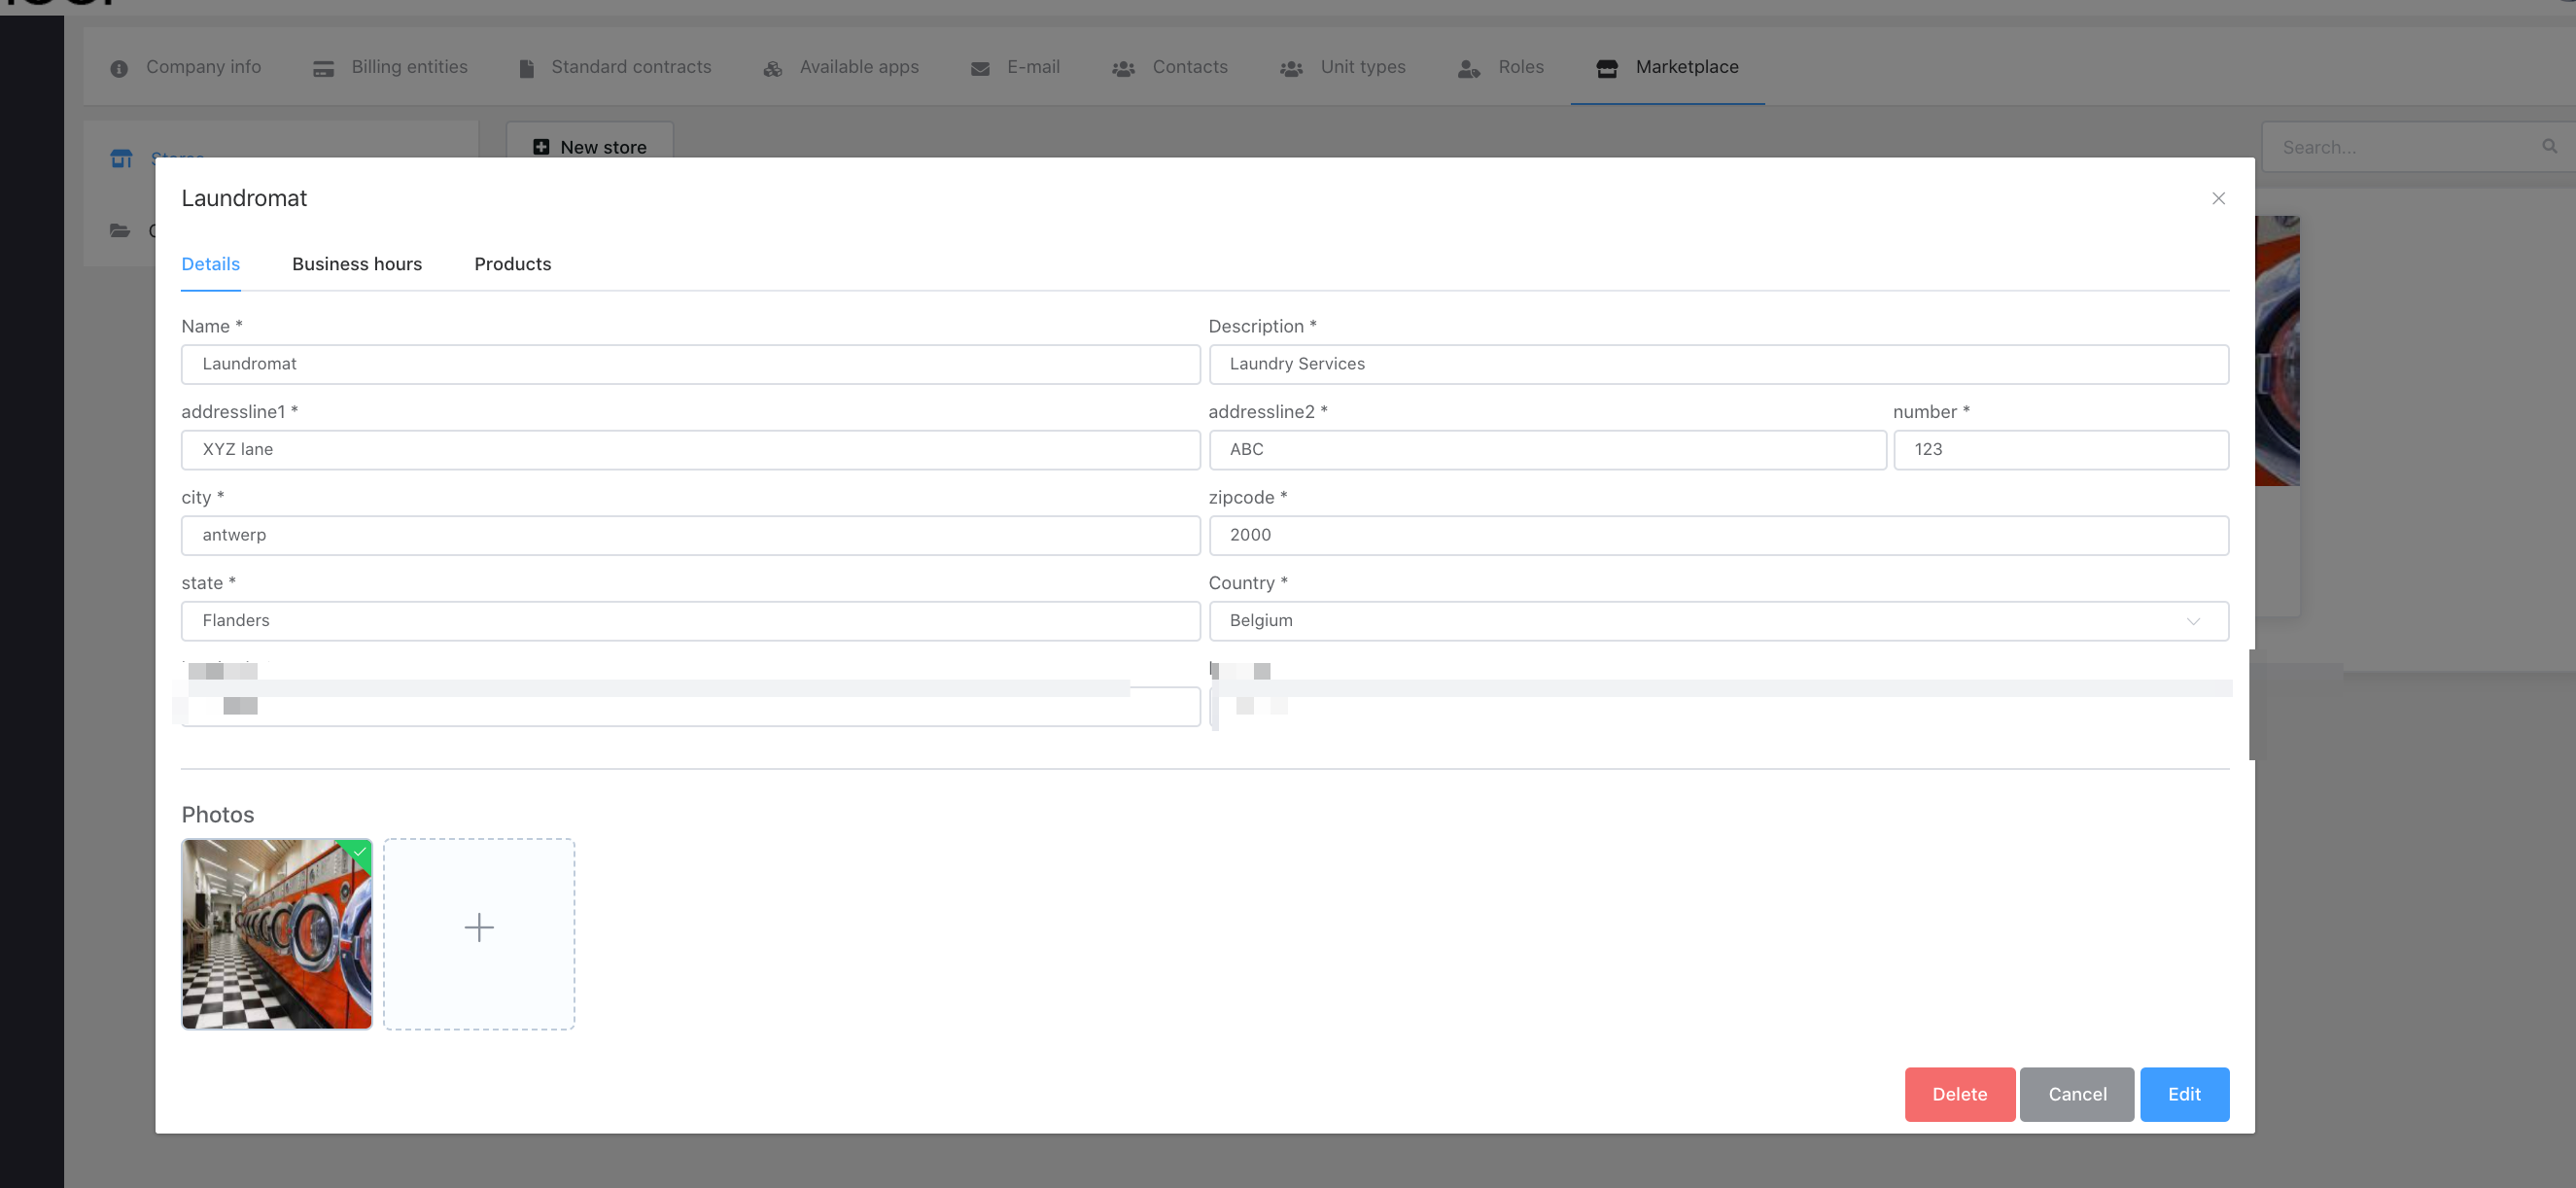
After creating the Categories, you can proceed to the Stores section and begin setting up the outlets or product sources that you will offer to customers. Be sure to fill in all required fields and add photos to provide detailed information about the store to your customers.
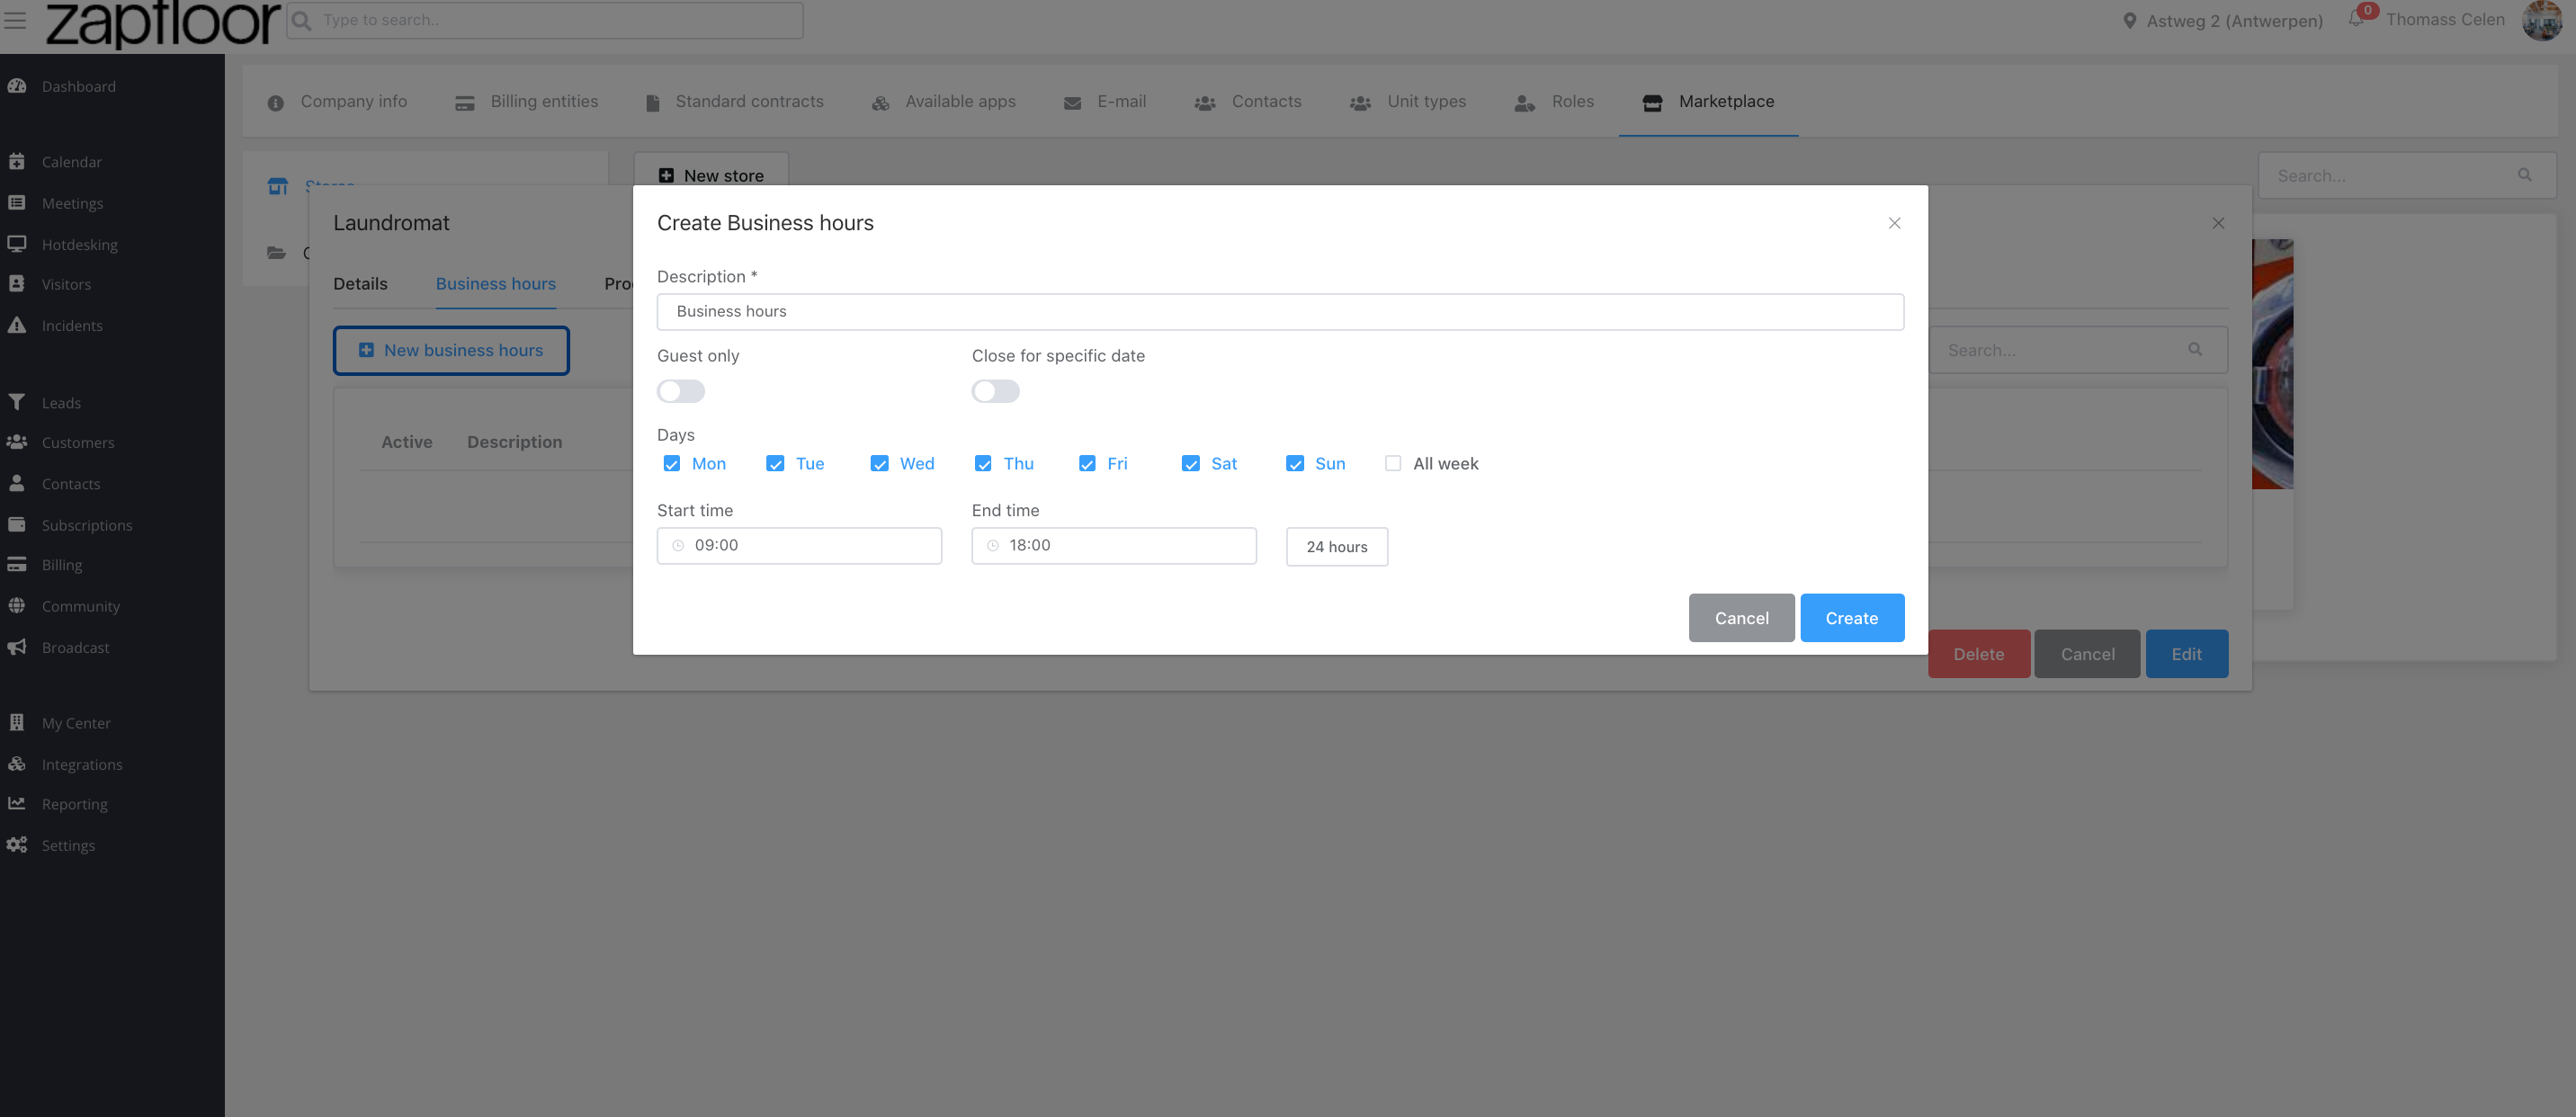
You can now establish the opening and closing times of the store by setting up its business hours.
Next, it's time to add the Marketplace Products to your store(s). To do this, simply navigate to the Product tab within the store you have created. Here, you can create a new product and assign the appropriate category to it.
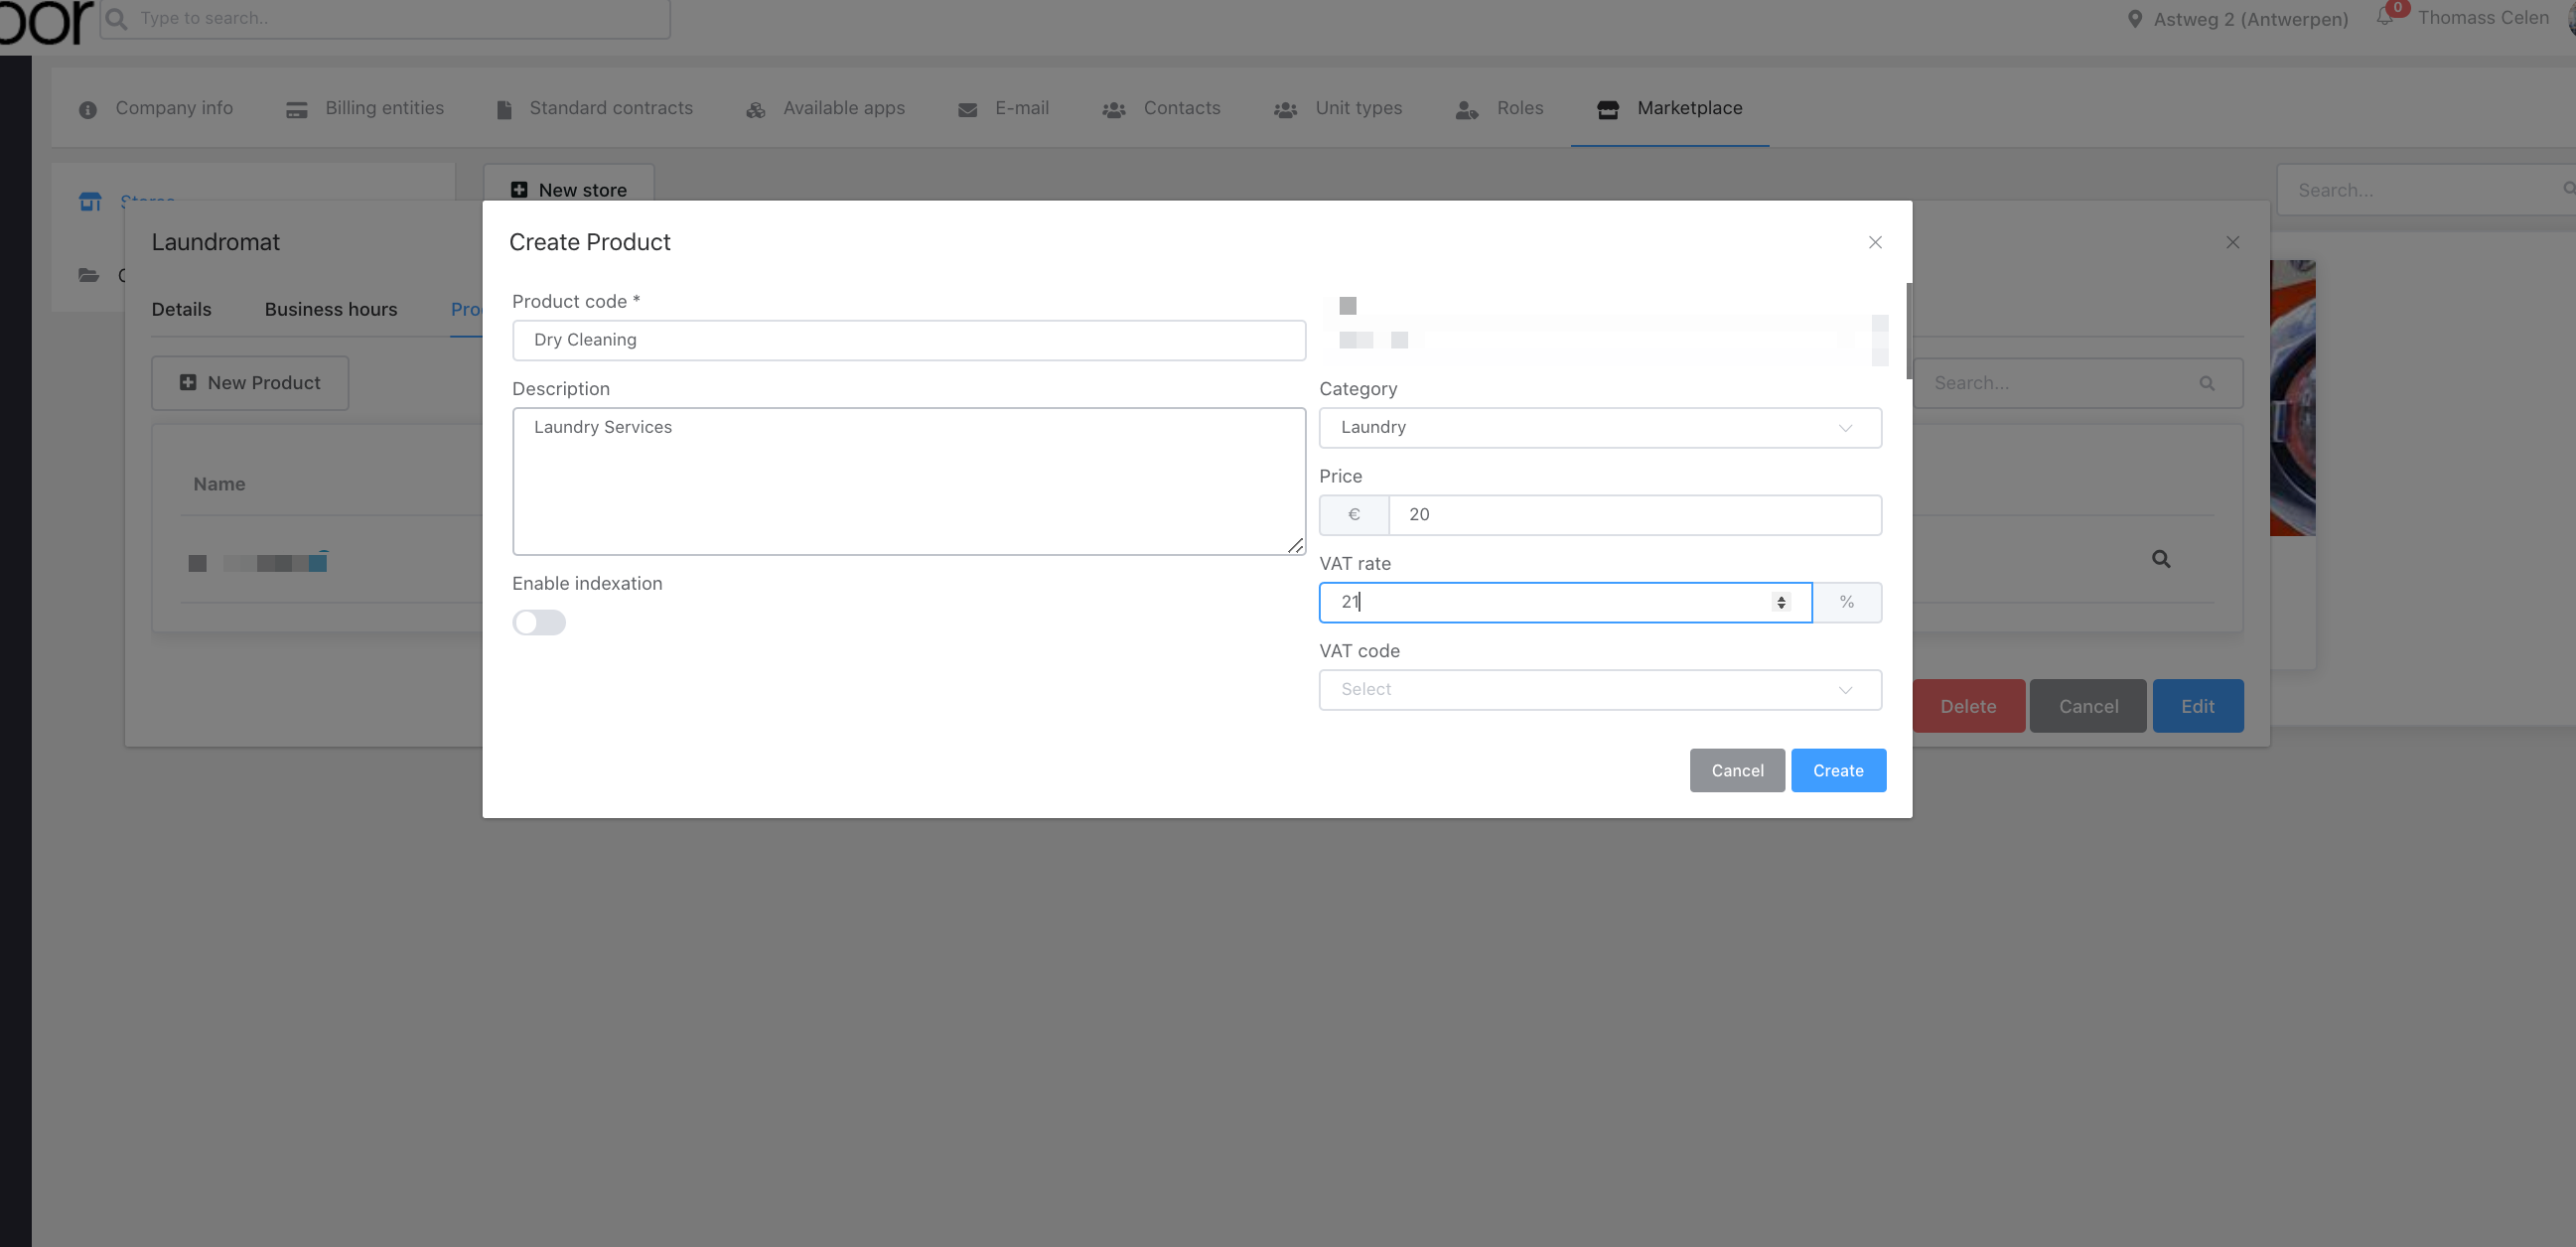
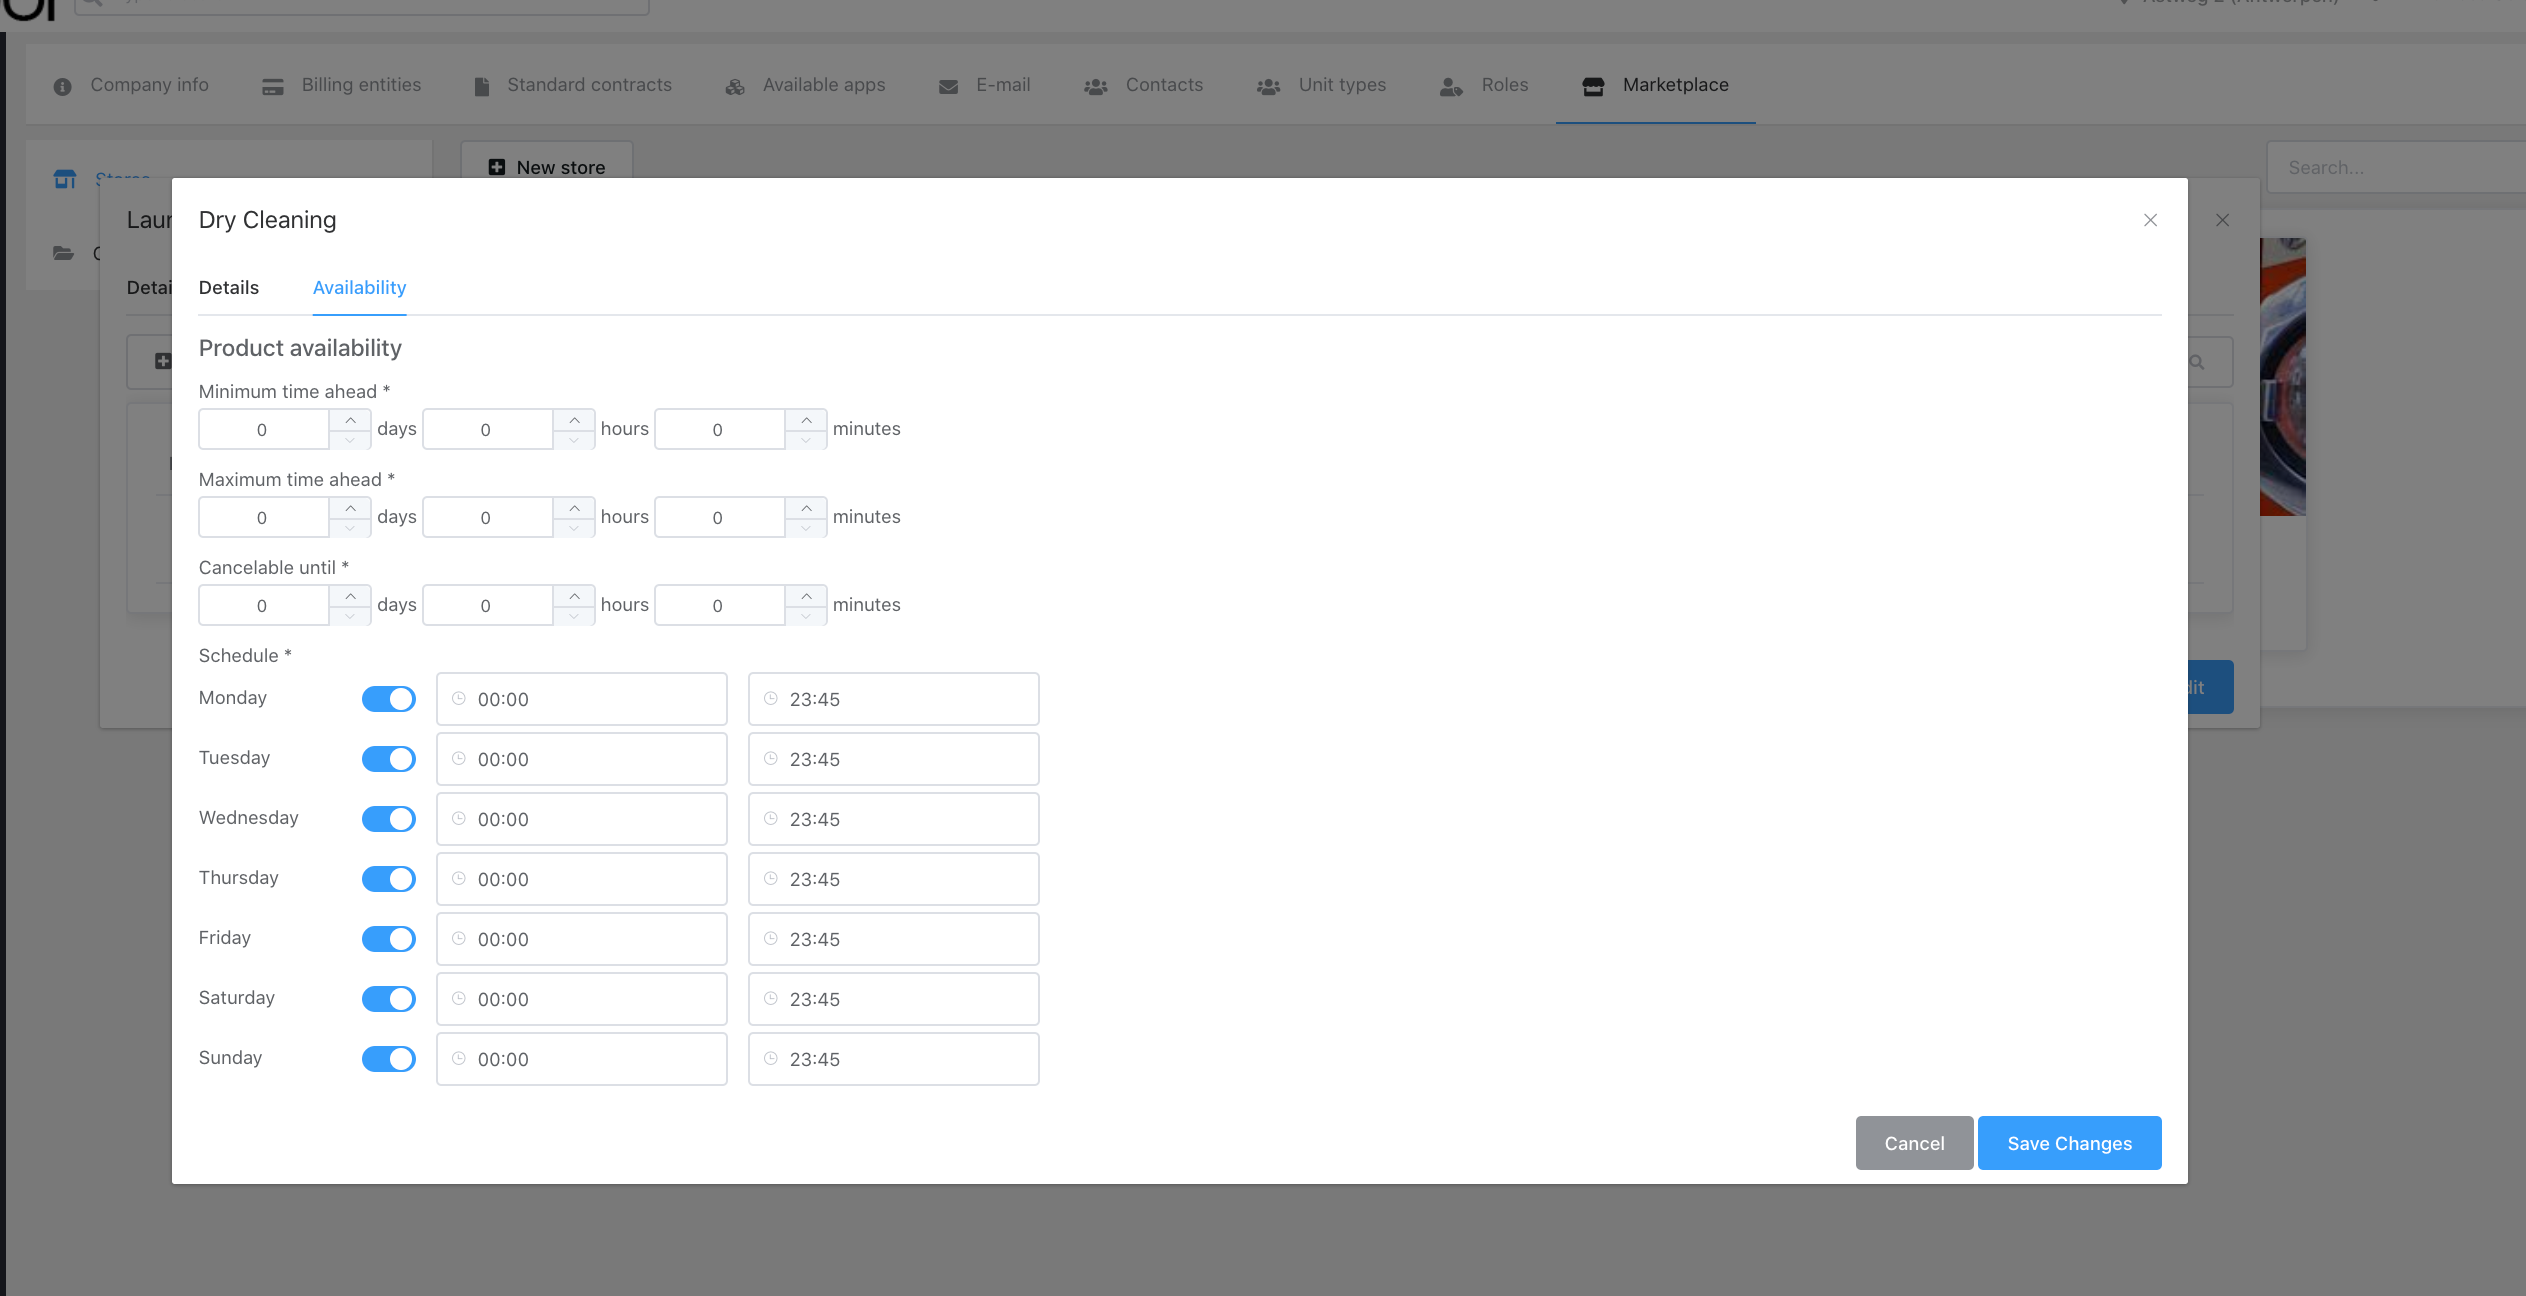
Step 6: Now, let's set up the availability of the product.
After creating the product, you can enhance it by adding photos and accounting codes. Additionally, you have the option to define rules for its availability. By default, your Marketplace Product will be accessible at all times. You can establish restrictions on availability by setting rules such as:
- Minimum time that someone can book ahead of the present day
- Maximum time that someone can book ahead of the present day
- Until when is the product cancelable
- The days and the time that the product is available to be booked during the week
- Minimum time that someone can book ahead of the present day
- Maximum time that someone can book ahead of the present day
- Until when is the product cancelable
- The days and the time that the product is available to be booked during the week
Note: Skip to next day can be used to limit from which day the customer can book, for example to not allow Friday afternoon bookings for Monday morning.
Once you are done with setting up all the above steps, you are ready to roll it out to your customers.
Lastly, link the Store to the Location(s) where it should be available.
In the store, go to Locations tab and check the boxes for where the store should be available for users.
Permissions for Marketplace roll out:
-
You'll need to set up specific roles on the user side to be able to access the Marketplace.
-
Store Management: :List all Stores
-
Order Management: Update Order, List all order
-
-
You can also set up roles where only some users can book a product for their team members.
-
Order Management: Update Order for other users, List all orders from other users.
-
-
You can also create a role for a catering/store only staff. That includes the minimum of these permissions:
-
Customer Management: All
-
Location management: List all Locations
-
My Profile: All
-
Orderline Management: All
-
Orders Management: All
-
Store Management: Update, Delete and List all stores
-