By setting up automatic assignment, you can ensure that all new users are immediately included in the designated access group.
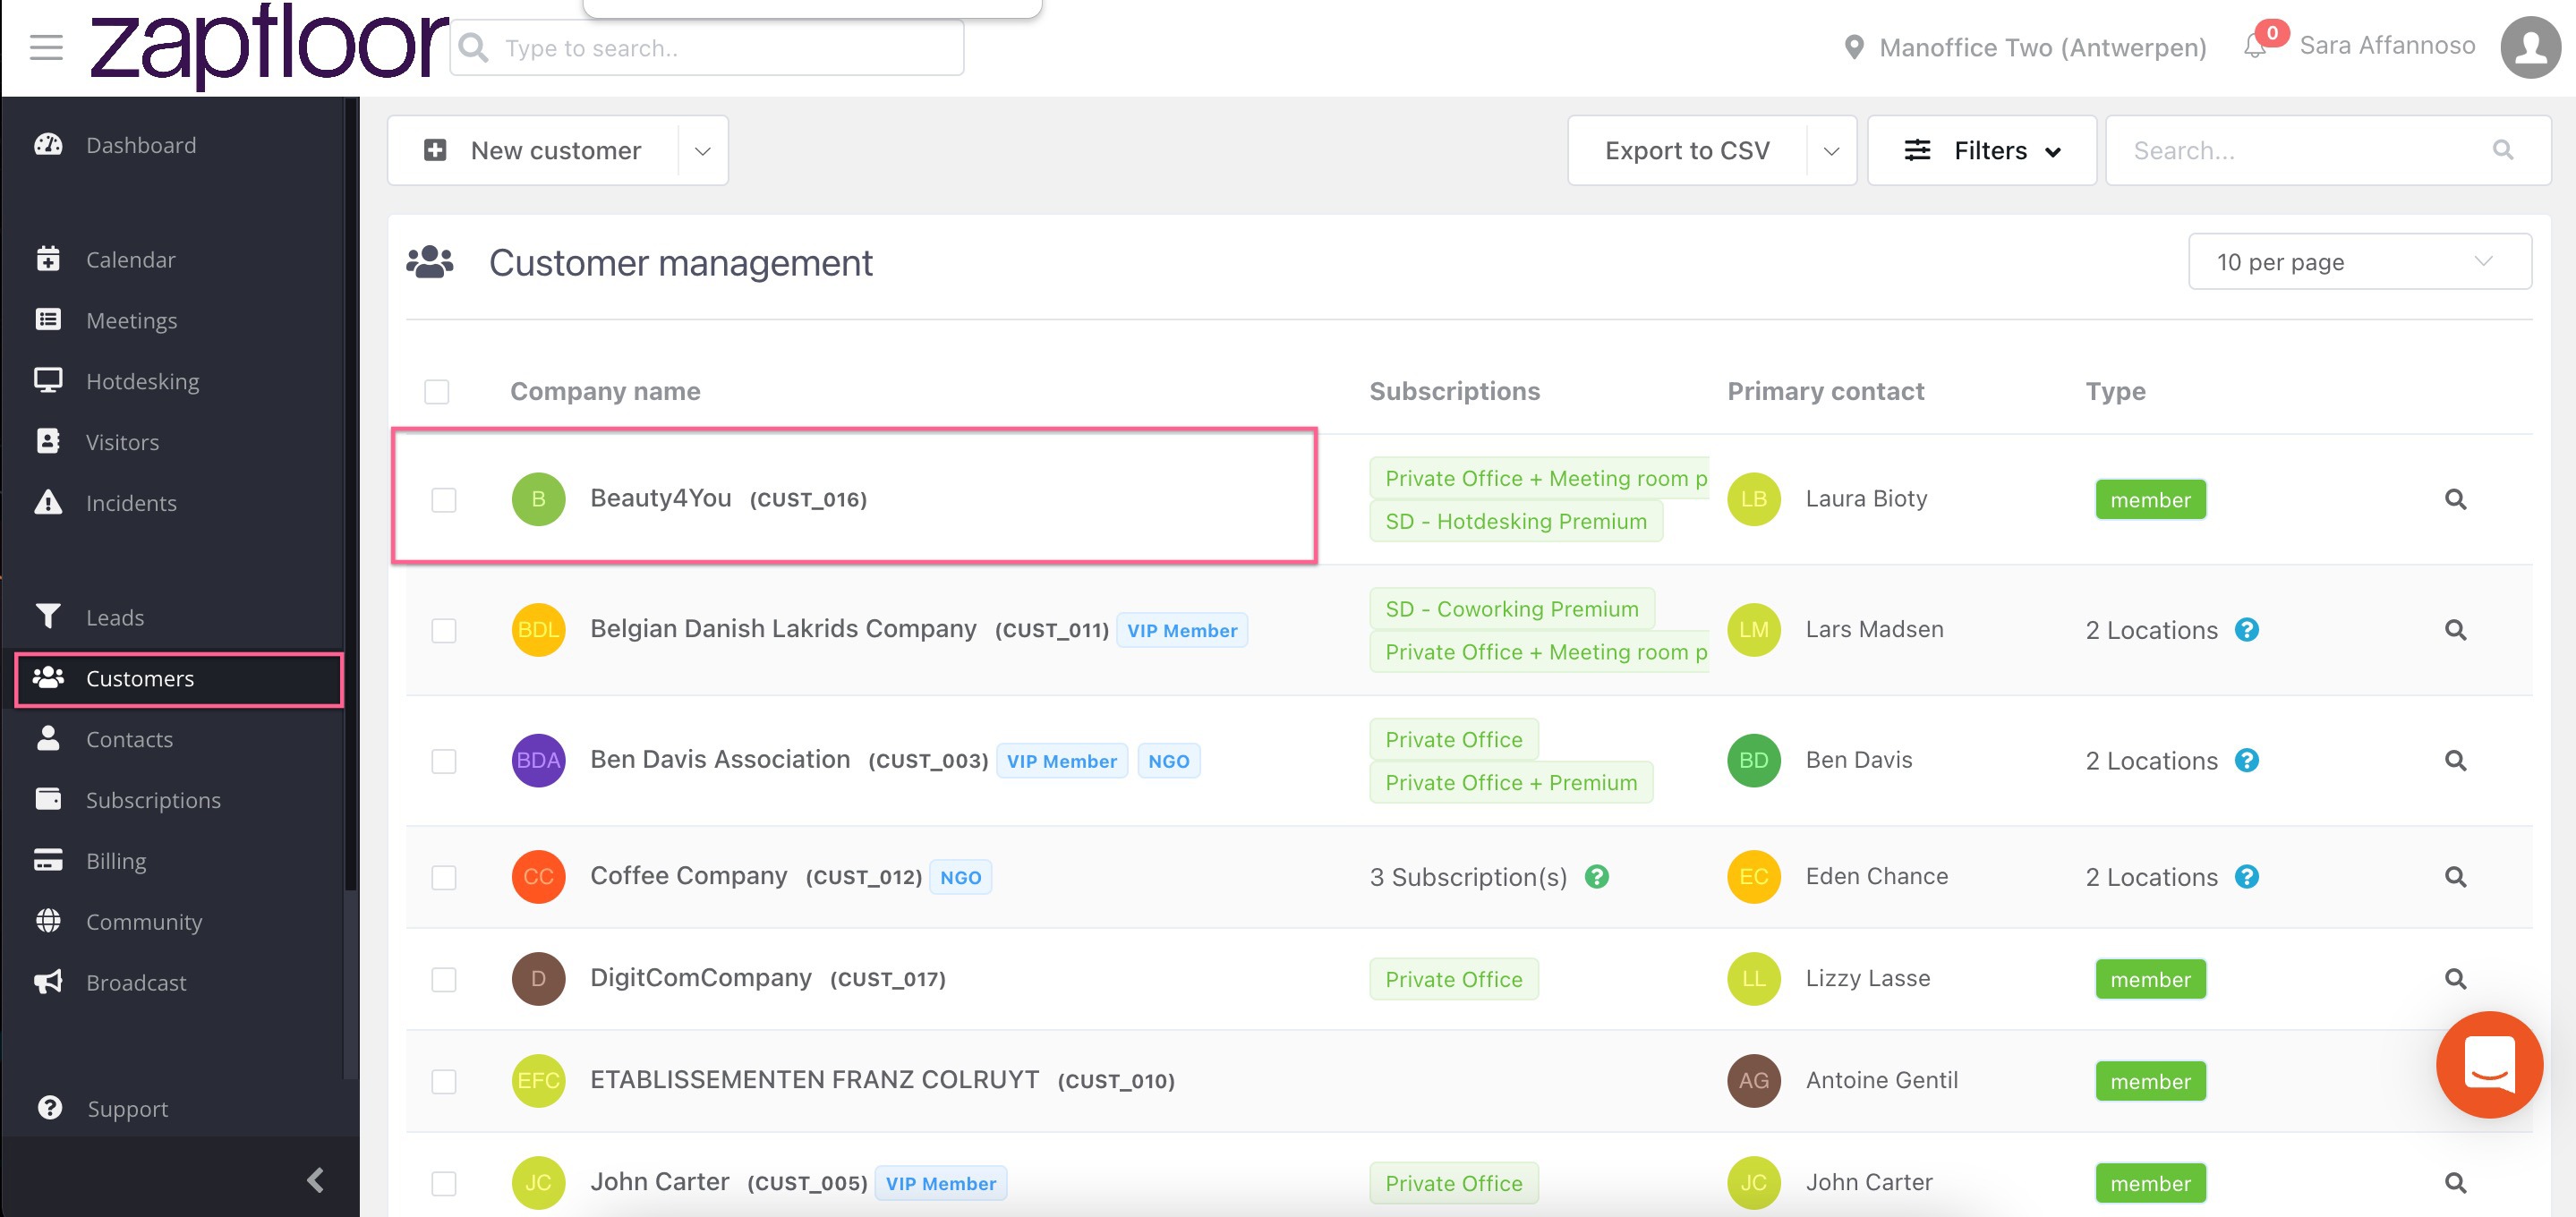
Step 1: Go to Customer > Select the customer
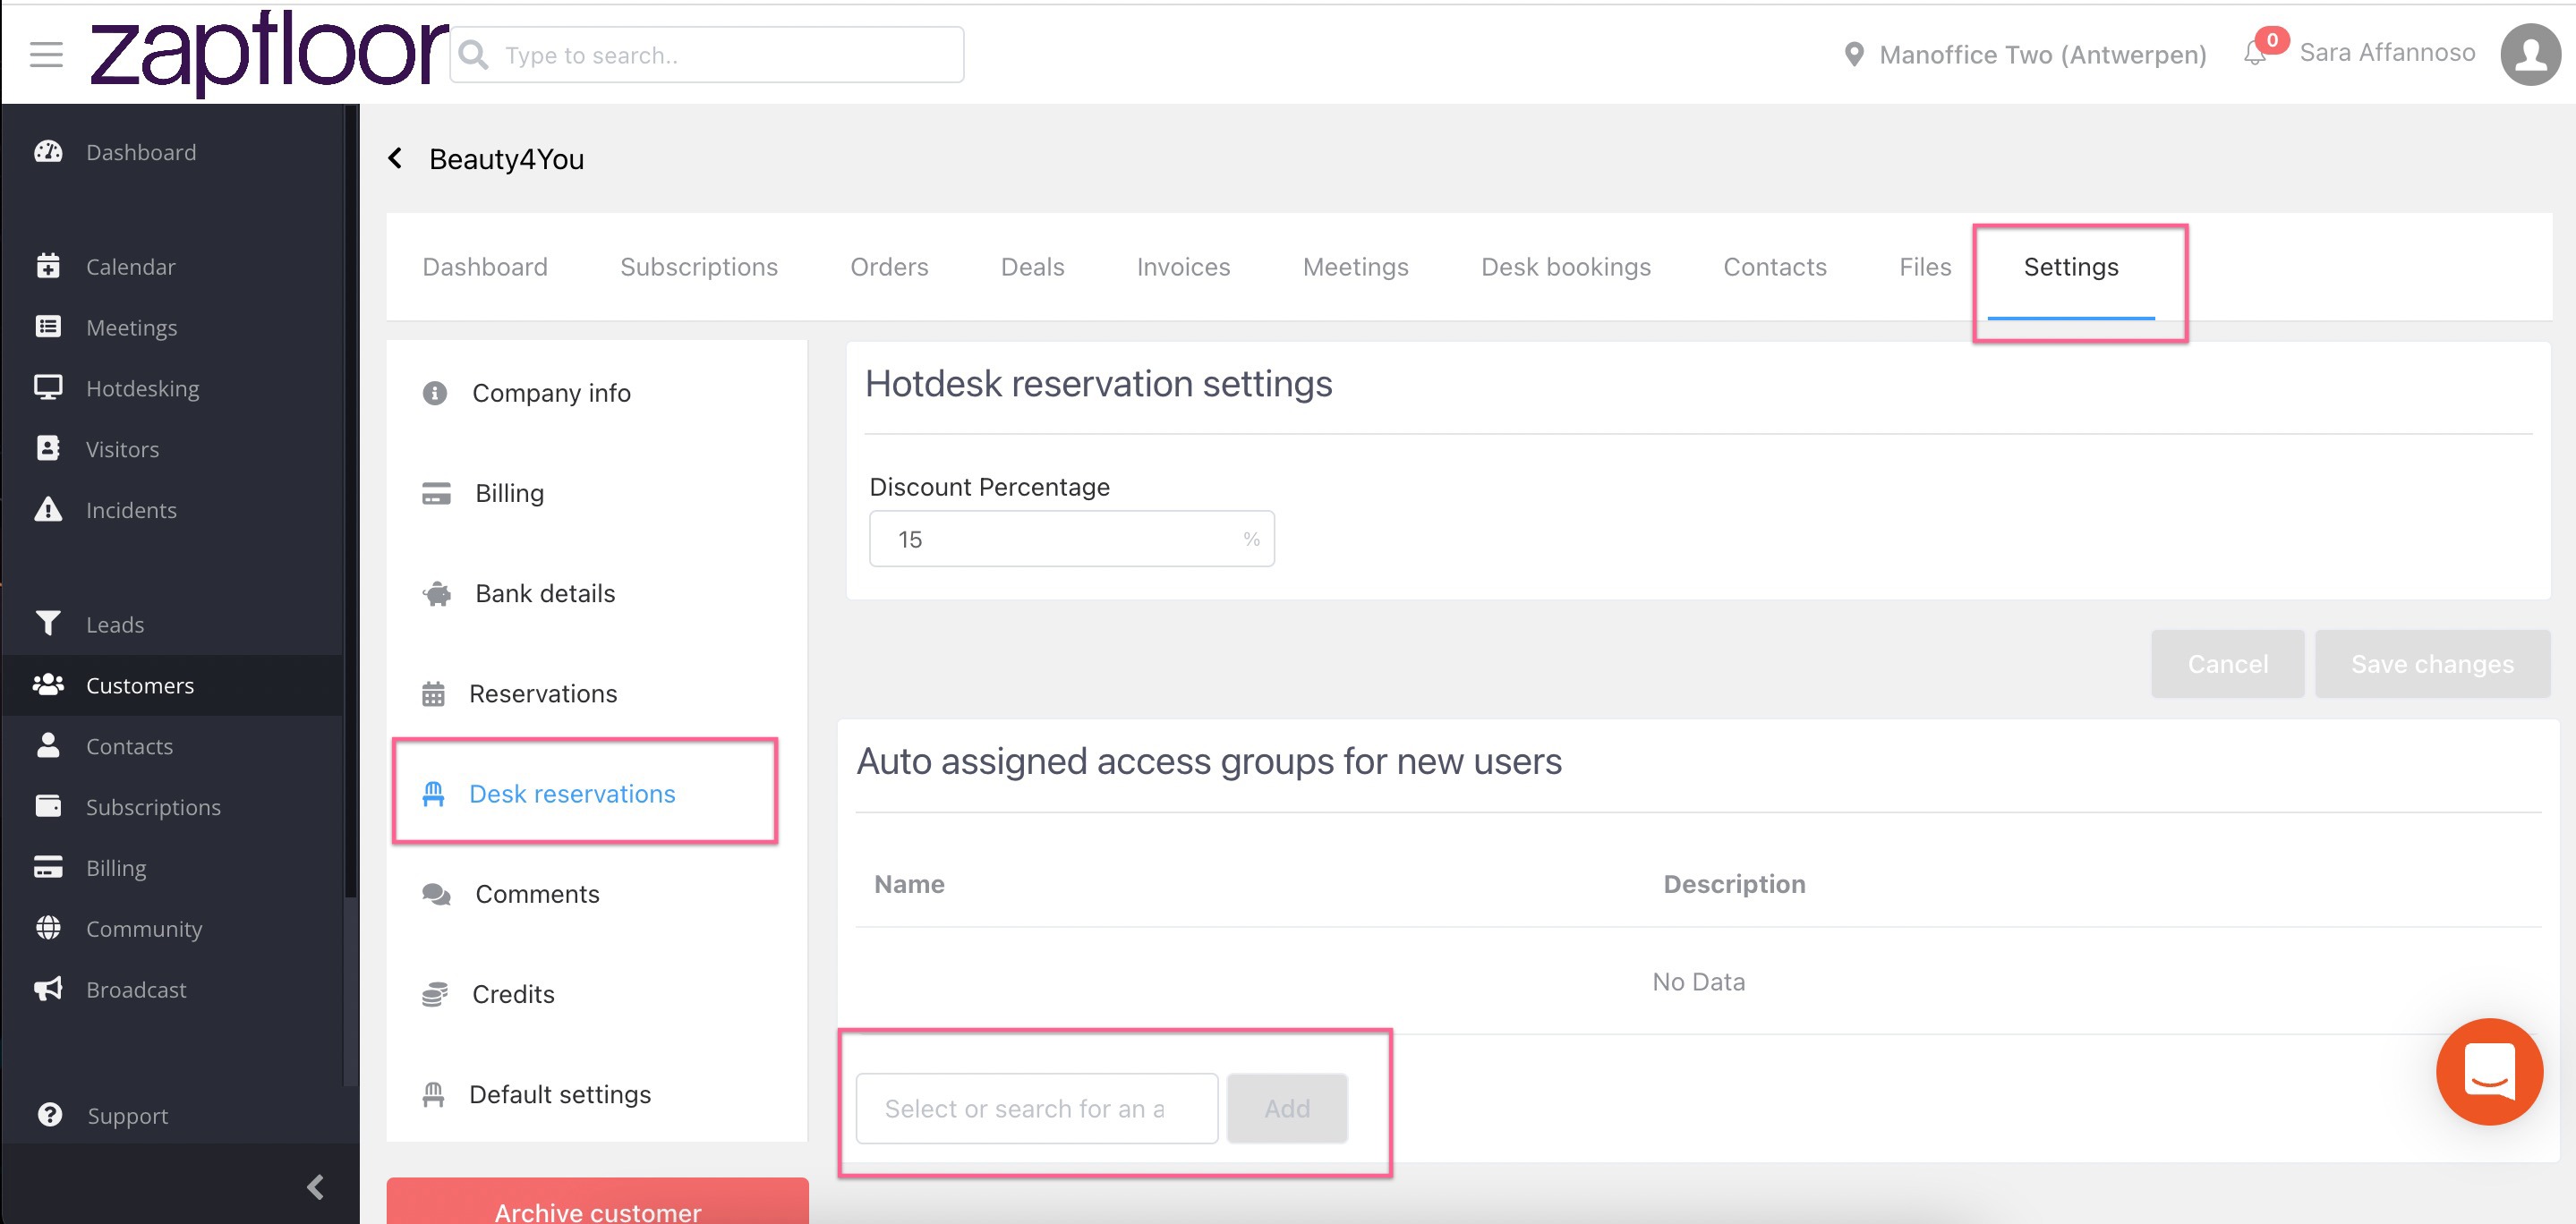
Step 2: Go to Settings > Desk reservations > Auto assigned access groups for new users > Use the search bar to select and add an access group
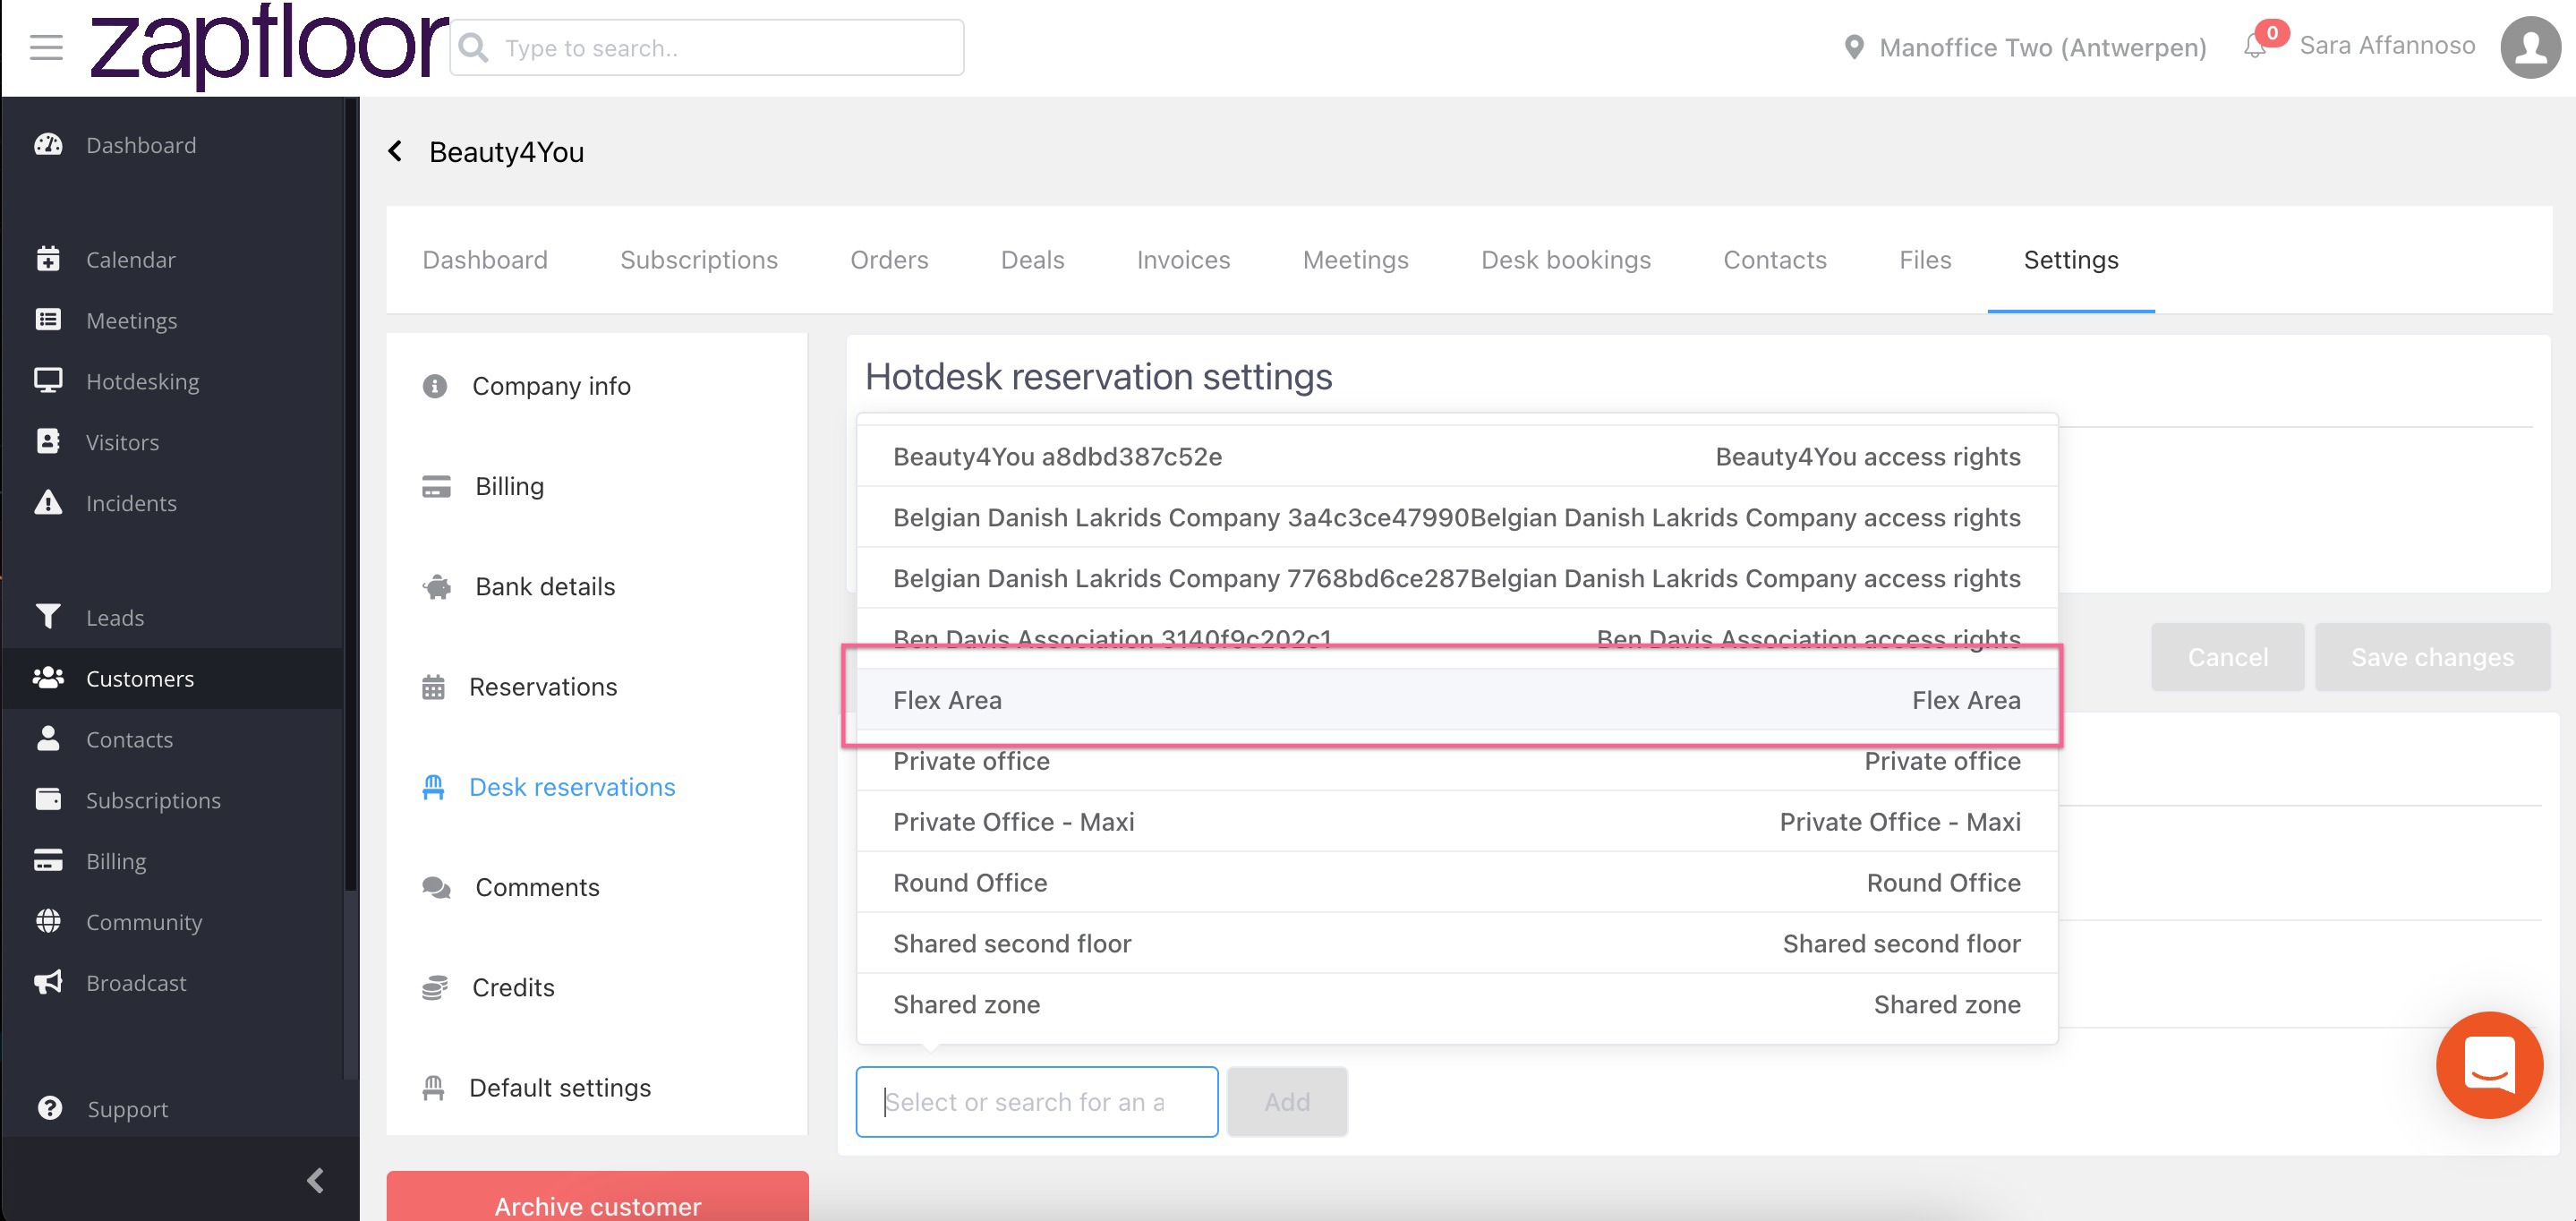
Step 3: Select the access group
Step 4: Click Add
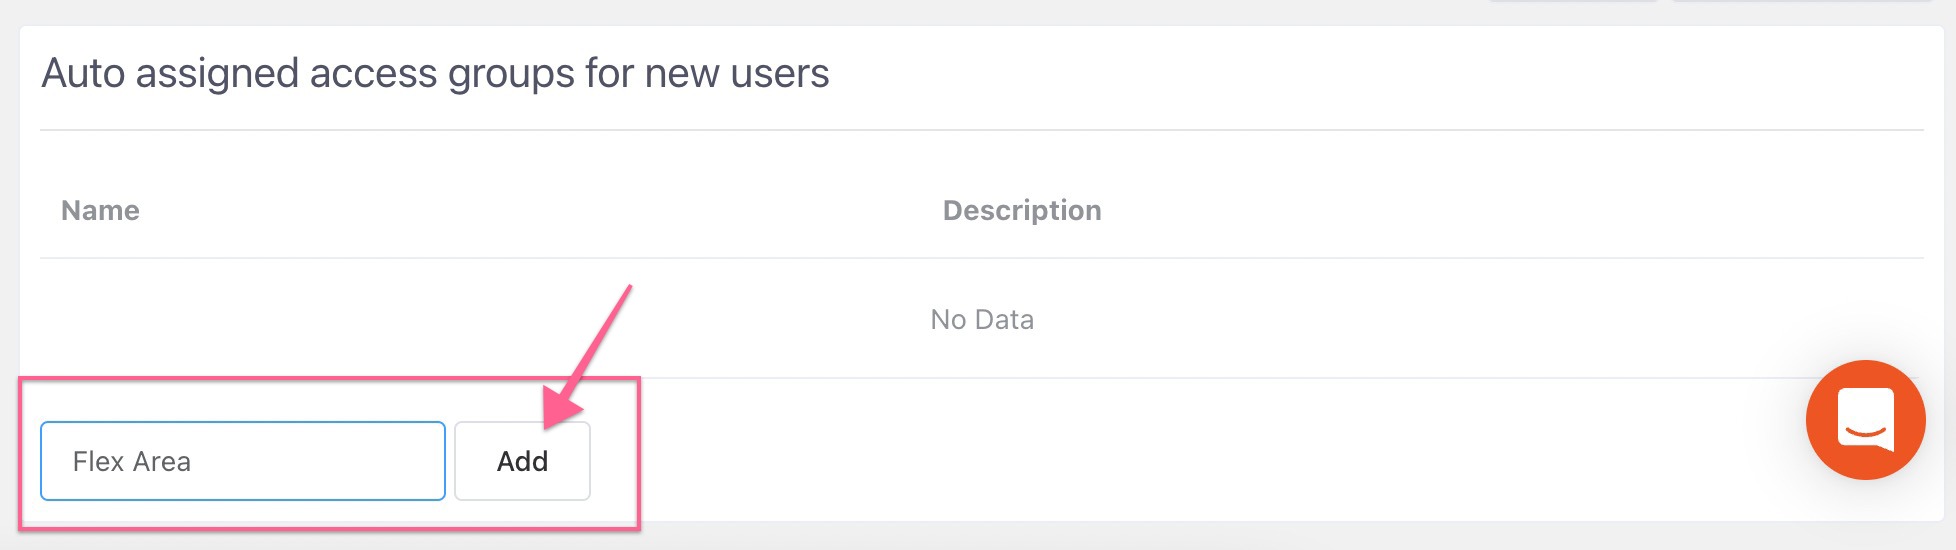
All new users added to the customer will now automatically be part of the access group.