To connect your Zapfloor to your Zapier account, the first step is to ensure that you have your own Zapier account set up. Once that is in place, you will need to enable the Zapier integration within Zapfloor. Next, you can proceed to connect your accounts and begin setting up personalized automations in Zapier.
How can the Zapier integration benefit you?
Utilize the Zapier integration to seamlessly link Zapfloor with your various tools. Here are some practical examples of how you can leverage this feature:
- Automatically add new contacts in Zapfloor to your Mailchimp marketing mailing list.
- Ensure that any new deals created in Zapfloor are promptly tracked in your organization's sales tool.
- Streamline your lead management by syncing new leads from Pipedrive to Zapfloor's lead manager.
- Simplify your marketing efforts by adding checked-in visitors to your marketing mailing list.
By integrating Zapier with Zapfloor, you can effortlessly automate these processes and enhance your workflow efficiency.
Events
Available events in Zapfloor include:
- New customer
- New lead
- New incident
- New visitor
Make a zap in Zapier
-
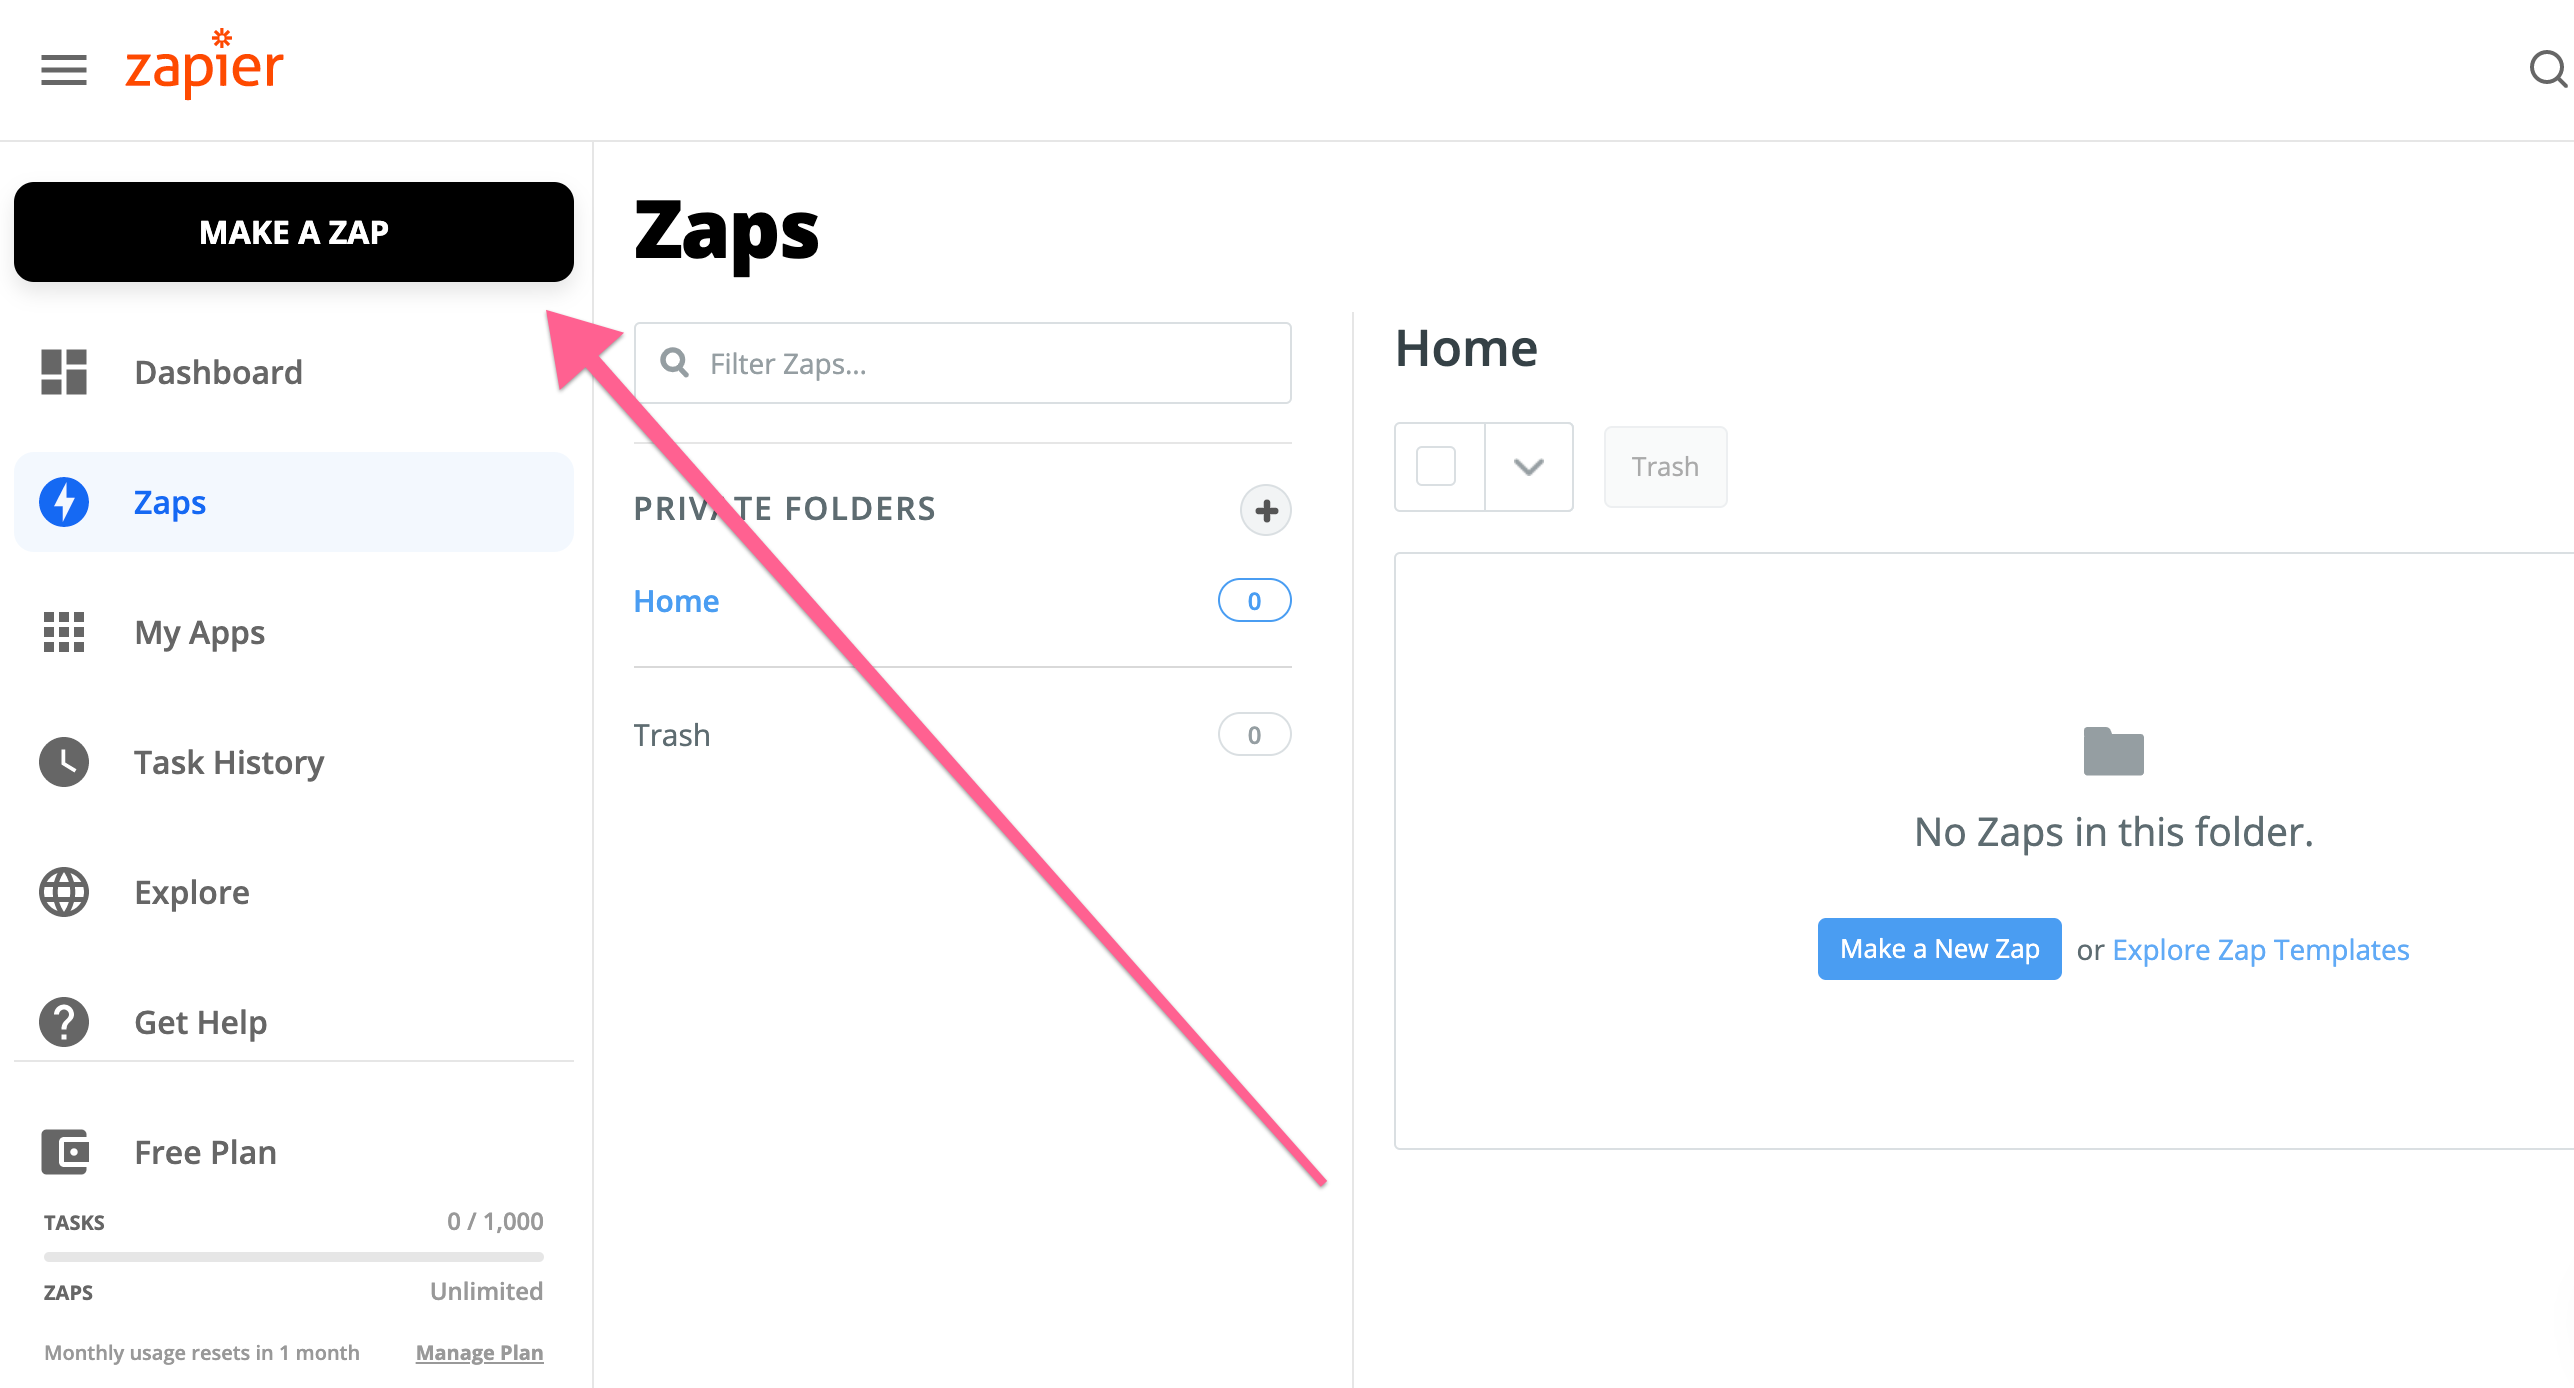
Click Make a Zap
-
Go to Drafts > Name your Zap > Name it
New users from Zapfloor to Mailchimp, for example -
Search for app, Zapfloor > Choose Zapfloor as app
-
Choose an event
for eg- When User is created
> Click Continue -
Click Connect my Zapfloor account
Link your Zapfloor account to your Zapier account (one-time setup)
In Zapfloor's operator platform: Go to Integrations > Zapier
-
Copy the Location ID --> paste into Zapier pop up
-
Subdomain to be used is: api.zapfloorhq.com --> paste into Zapier pop up
-
To get an API Token go to My Profile > API Tokens
Click Create > Select all scopes and Confirm. Now copy the API token created
--> paste token in to Zapier pop up -
Now that the Zapier pop-up is all filled in, click Yes, Continue


Creating a Zap to add new users to your Mailchimp audience
- Now that Zapier is connected to Zapfloor, click on Continue and Test Trigger
- You will see an already existing user in Zapfloor. Click on Continue.
- Now for the app we want to connect to select MailChimp.
- Now select the Action Event and Choose your Mailchimp Account
- Now select the Audience that's available in your MailChimp and fields you need in Mailchimp of the User, you can use labels to create customer segments.
- Test and Continue, you can test the Zap.
- All done! You can click Turn on Zap to get started.
> Go back to your Mailchimp Account in Audience > All Contacts to see the new users coming in.